Setting up the Environment
This code base from DPS/Base.
The Segmenter service is to allow real time grouping of visitors into segments/cohorts based on customer defined rules. These rules are built from condition(s) using our internal, pre defined, functions.
The Segmenter code base holds all functions which use SQL/Python to process their logic against the custom defined condition and see if the current visit/visitor state matches. Go to Functions to see a list of all current Segmenter functions.
Below will describe the steps a user would go through to create a Segment using Cubed's predefined Functions to create Conditions, which will collectively build a Rule.
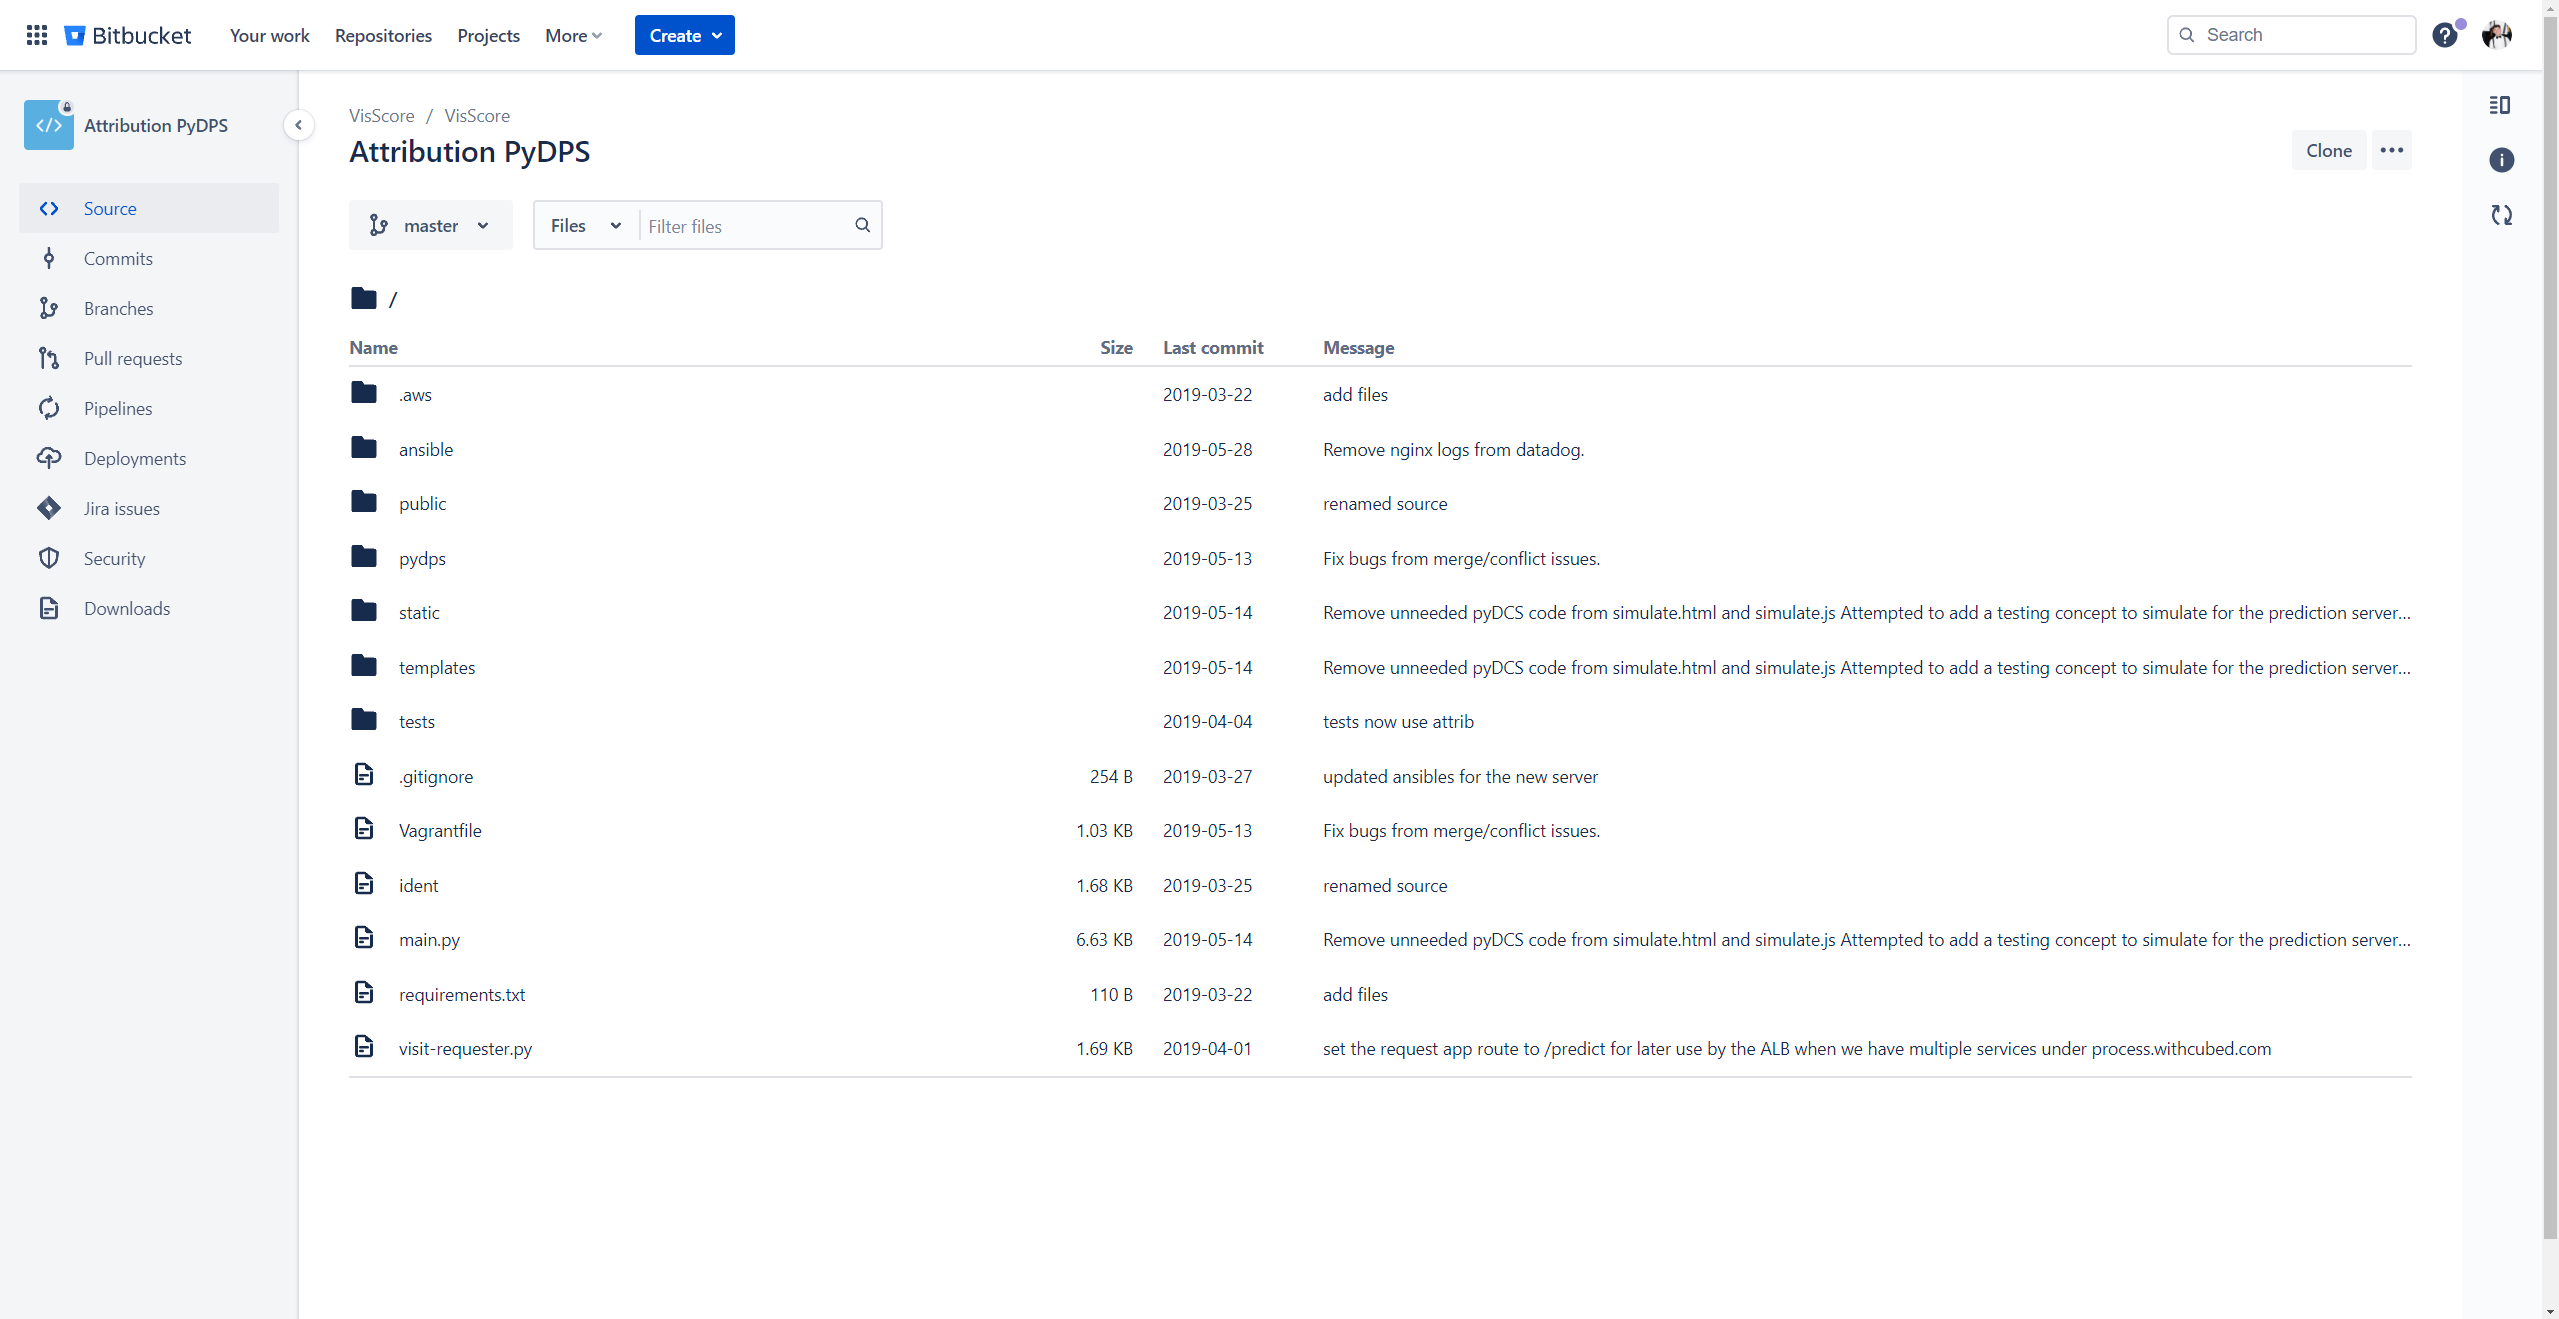
Clone the Attribution PyDPS Repository
- Navigate to
https://bitbucket.org/yardcardiff/in the browser, and locate theattribution-pydpsrepository.

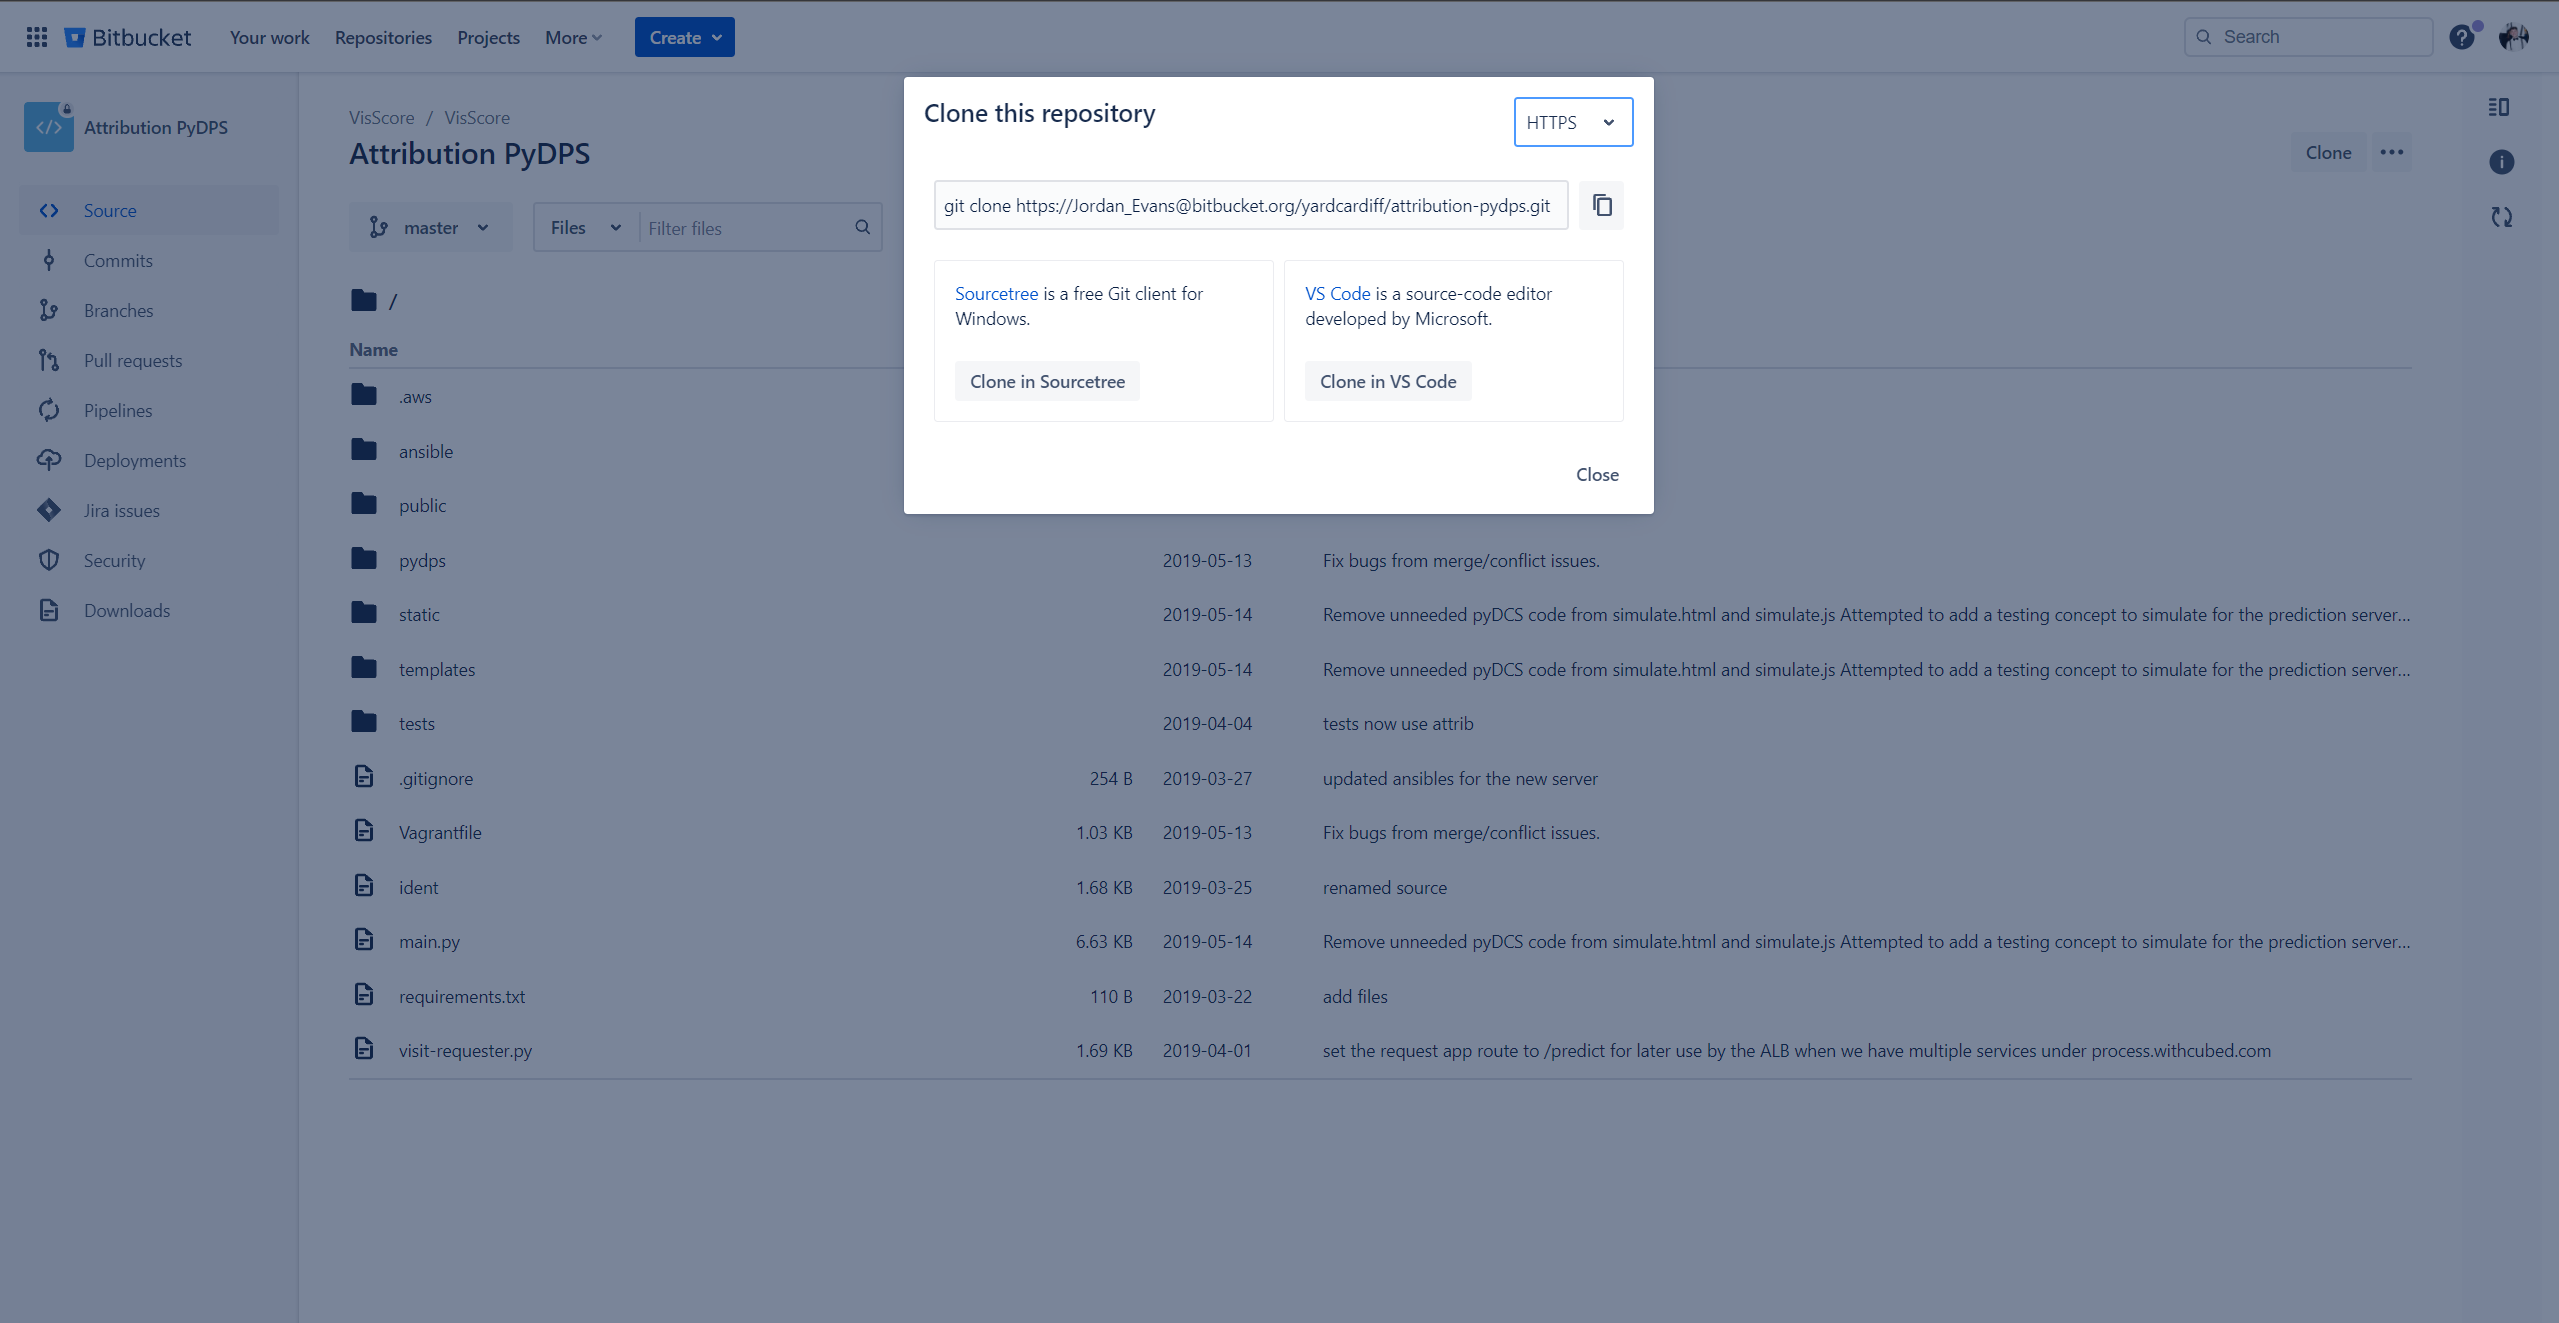
- Click on 'Clone' at the top right-hand side of the screen, and copy the given URL:

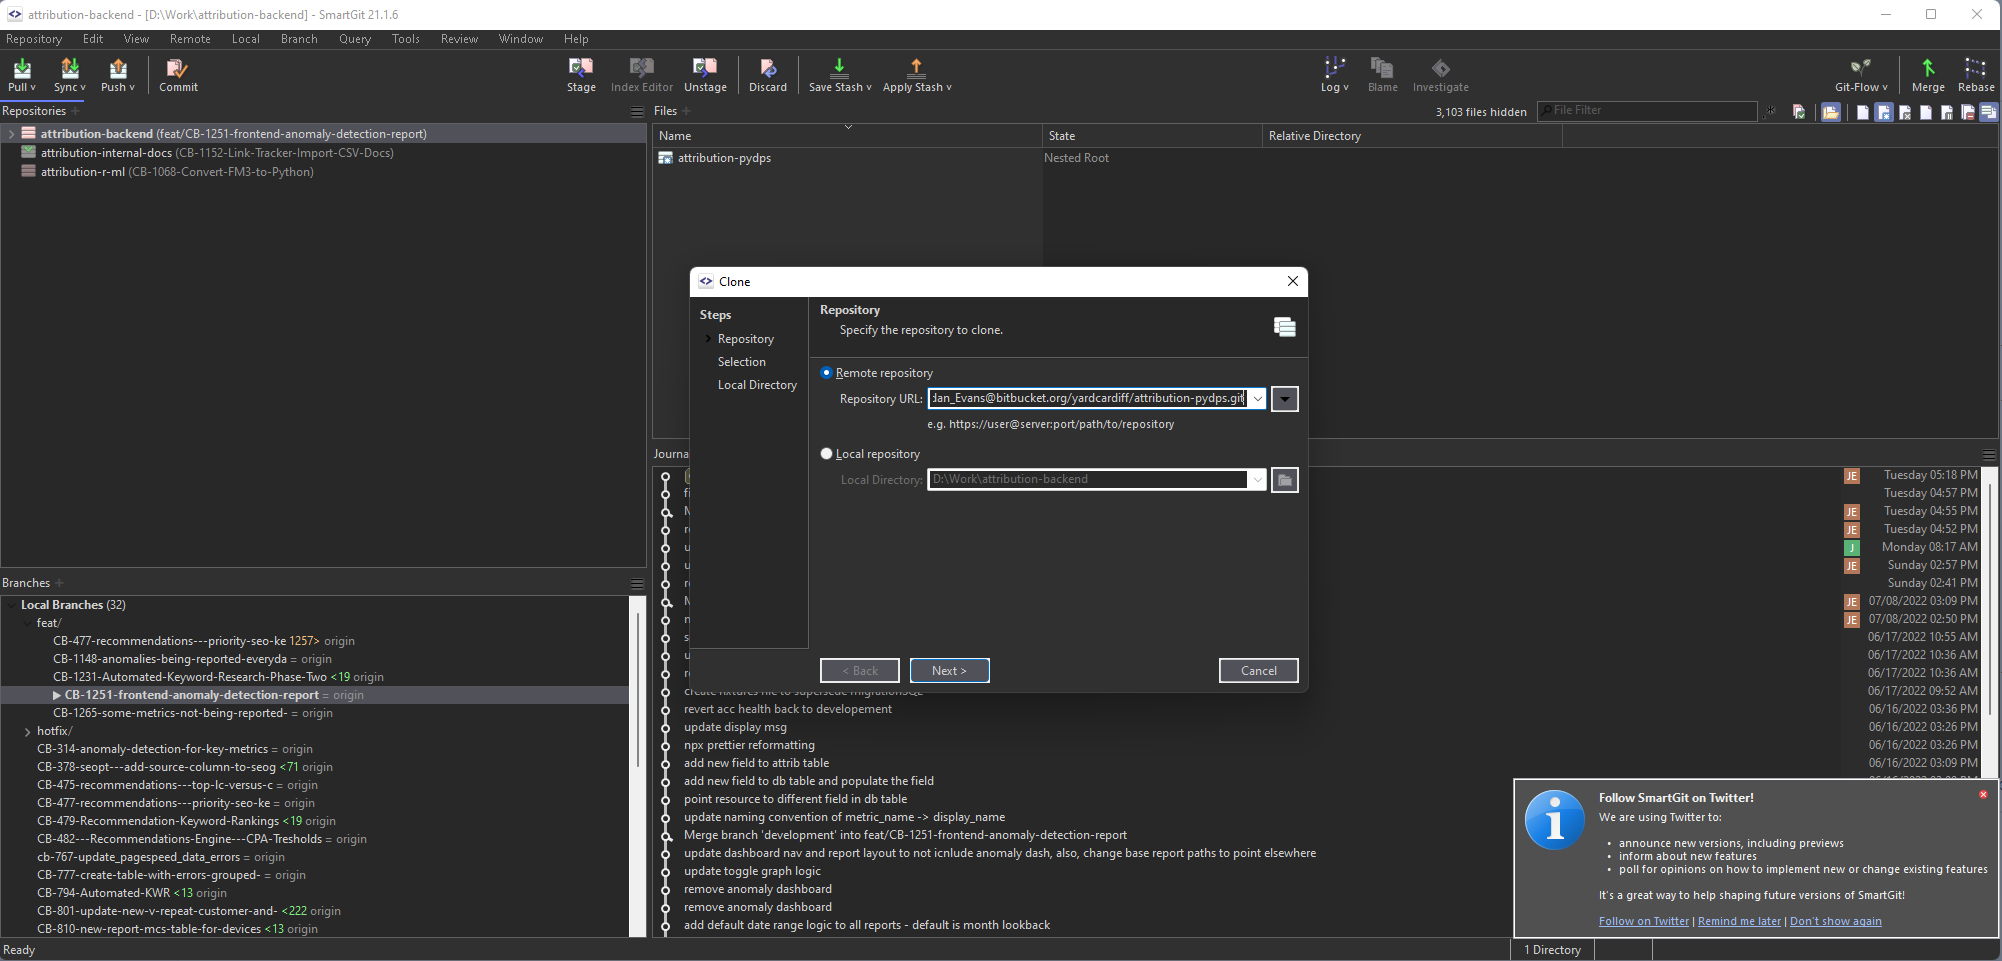
- In SmartGit, go to Repository -> Clone, and paste the URL into the 'Repository URL' field under 'Remote Repository'.

-
Be sure to remove the 'git clone' command from the beginning of the copied URL.
-
Press 'Next' twice, choose a path for the local directory, for example
D:\attribution-pydps, then press 'Finish'. -
You will now have a local copy of the repository in your chosen local directory.
Vagrant
- Open up the repository in a IDE of your choice, within the project root (where the
Vagrantfileis located) create a new hidden folder called.backend.yml. Inside this folder create two files:.base.ymland.backend_segmenter.yml. Paste the following code into the files respectively ensuring that you replace with your own db credentials and contact your supervisor for your access keys:
.base.yml
dps_database:
  protocol: tcp
  address: db address
  name: { db name }
  port: port number
  user: { db user }
  pass: { db password }

visscore_api:
  protocol: tcp
  address: db address
  name: { db name }
  port number: port
  user: { db user }
  pass: { db password }

dps_datadog_enabled: False
ansible_ssh_user: ubuntu
ansible_ssh_pass: ubuntu

aws_access_key_id: { aws access key id }
aws_secret_access_key: { aws secret access key }

aws_keypair_name: attrib

home_dir: vagrant
dps_workers: 1
dps_retry_workers: 1
is_local: True
sqs_queue_type: test
.backend_segmenter.yml
s3_url: staging.segmenter.s3.withcubed.com
dps_env: pydps-segmenter
codeartifact_access_key_id: { codeartifact access key id }
codeartifact_secret: { codeartifact secret }
-
Open your Terminal/Command Prompt, and navigate to your repository (e.g.
cd D:\attribution-pydps). -
Type the command
vagrant up {machine}. For example, if you wish to spin up the segmenter box you would run the commandvagrant up segmenter. This will create and start a Vagrant development environment for the project. Similarly, when running a provision on your box you would have to include the named machine in the command, i.e.vagrant reload segmenter --provision. Additionally, destroying the box would bevagrant destroy segmenter.
Common Errors
if you get an error like the following when provisioning your box:
failed: [127.0.0.1] (item=visit-generator) => {"ansible_loop_var": "item", "changed": false, "cmd": ["/usr/local/bin/pip3", "install", "-U", "visit-generator"], "item": "visit-generator", "msg": "\n:stderr: ERROR: Could not find a version that satisfies the requirement visit-generator (from versions: none)\nERROR: No matching distribution found for visit-generator\n"}
Simply ssh into your box and run the following pip command pip3 install visit-generator to install the latest version of visit-generator. Reprovision your box and try again.
Segmentation
A user will create a new Segment in the frontend and give it a Name, a Badge Icon, and a Description if needed.
They will then build rules dictating when the Segment should be assigned to a visitor in real time.
A list of searchable functions should appear and once selected should lead to an operator choice, followed by an input field for value. The function data type should dictate how the input field is handled and validated, while also governing what operators are useable.
For example, if someone has picked a function that requires a String look up, then the operator shouldn't allow "greater than" or "between". Similarly if the function is date drive, then the operator can allow both "between" and "greater than" logic.
Once they have picked their first function with operator and value, this is saved as a condition. The user can then either save this as a rule or add an operator (AND or OR) and add another function which will become its own condition.
When they have finally picked all their functions, clicking save will store the Segment details along with a generated Rules Pattern using the Ids of the generated conditions.